
Maximize Comfort, Minimize Costs: The Ultimate Guide to Home Insulation
When it comes to creating a comfortable living space while keeping energy bills under control, few upgrades deliver as consistently as proper home insulation. A well-insulated home stays warmer in winter and cooler in summer, reduces drafts, lowers utility costs, and even improves indoor air quality. Yet many homeowners overlook insulation as a key factor in energy efficiency—often until they notice uneven temperatures, higher bills, or drafty rooms. Whether you’re building a new home, renovating an older one, or simply looking to improve energy performance, understanding insulation is the first step toward a smarter, more sustainable living environment.
The benefits of effective home insulation are clear: lower energy consumption, reduced carbon footprint, greater comfort, and long-term cost savings. But with so many types of insulation materials, installation methods, and R-values to consider, how do you choose the right solution for your home? This comprehensive guide breaks down everything you need to know—from choosing the best insulation type and where to install it, to DIY tips and professional advice—so you can make informed decisions that enhance comfort without breaking the bank.
Why Insulation Matters More Than You Think
Insulation is the invisible shield that slows the transfer of heat between your home’s interior and the outside environment. In winter, it prevents precious warm air from escaping; in summer, it blocks heat from entering. Without adequate insulation, your heating and cooling systems work overtime, leading to energy waste, higher bills, and unnecessary strain on the environment. According to the U.S. Department of Energy, proper insulation can reduce heating and cooling costs by up to 30%.
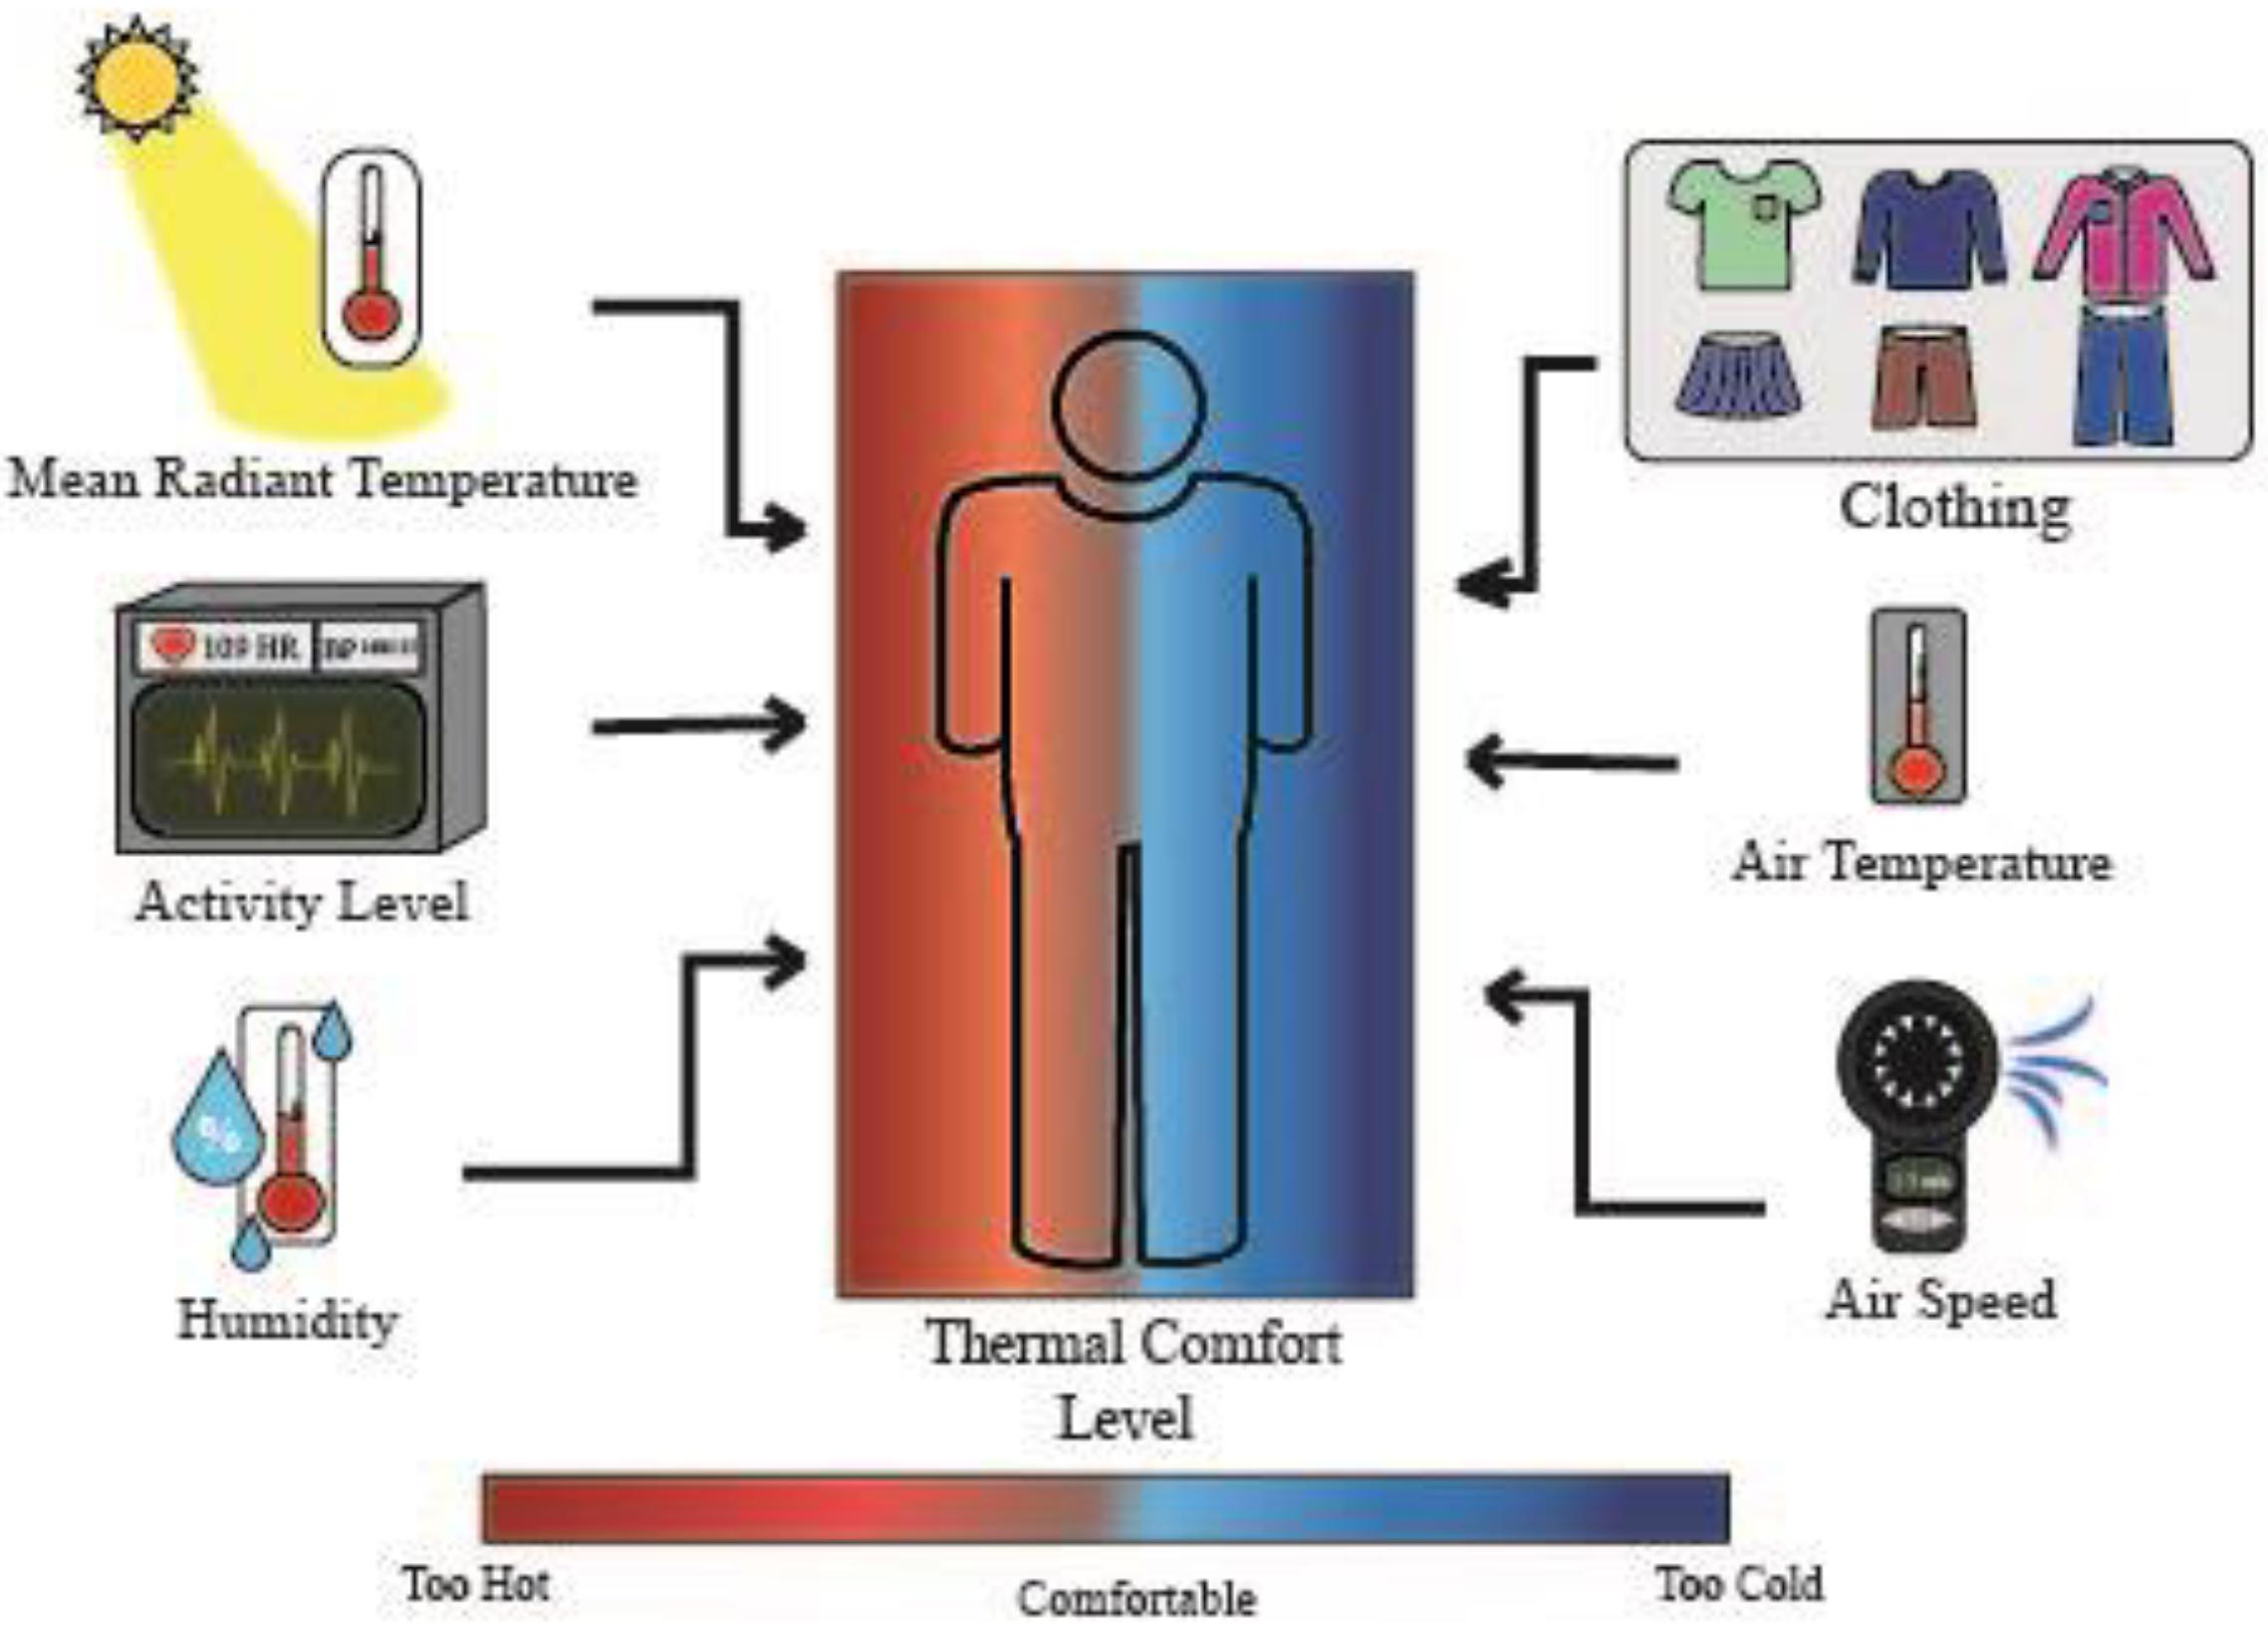
Beyond cost savings, insulation plays a crucial role in health and comfort. Poorly insulated homes often suffer from drafts, cold floors, and uneven room temperatures—leading to discomfort and even health issues like respiratory irritation from drafts and temperature fluctuations. Additionally, well-insulated homes with proper vapor barriers reduce moisture buildup, which can prevent mold growth and improve indoor air quality. In older homes especially, adding or upgrading insulation can dramatically transform livability and resale value.
Understanding R-Values: The Key to Measuring Insulation Performance
The effectiveness of insulation is measured by its R-value—a numerical rating that indicates its resistance to heat flow. The higher the R-value, the better the insulation’s performance. R-values depend on the material type, thickness, and density. For example, fiberglass batts typically have an R-value of around 3.1 to 4.3 per inch, while spray foam can reach up to R-7 per inch.
Choosing the right R-value depends on your climate zone. The U.S. Department of Energy divides the country into eight climate zones, from hot southern regions (Zone 1) to very cold northern areas (Zone 8). For instance:
- Zones 1–2 (Hot climates): R-30 to R-49 for attics; R-13 to R-21 for walls
- Zones 3–4 (Mixed climates): R-38 to R-60 for attics; R-13 to R-21 for walls
- Zones 5–8 (Cold climates): R-49 to R-60 for attics; R-21 to R-25 for walls
It’s important to note that R-values are cumulative. So if you layer two types of insulation, their combined R-value is the sum of their individual ratings. Always check local building codes, as they often specify minimum R-values required for new construction and major renovations.
Types of Insulation: Finding the Right Fit for Your Home
Not all insulation is created equal. Different materials offer unique benefits in terms of performance, cost, ease of installation, and environmental impact. Here’s a breakdown of the most common types:
1. Fiberglass Insulation
Fiberglass is the most widely used insulation material in homes. It comes in two main forms: batts (pre-cut panels) and loose-fill (blown-in). Made from fine glass fibers, fiberglass is affordable, fire-resistant, and widely available. It’s ideal for DIY projects, especially in attics, walls, and crawl spaces.
Pros:
- Low cost ($0.64–$1.20 per square foot)
- Non-combustible and moisture-resistant
- Easy to install in unfinished areas
Cons:
- Can settle over time in loose-fill form
- May cause skin or respiratory irritation during installation (wear protective gear)
- Less effective in tight spaces due to gaps
2. Cellulose Insulation
Made from recycled newspaper, cardboard, and other paper products, cellulose is an eco-friendly option treated with fire retardants. It’s typically installed as loose-fill through a blowing machine, making it perfect for attics and wall cavities. Cellulose has a high R-value per inch and excellent sound-dampening properties.
Pros:
- Made from up to 85% recycled content
- Treats up to R-3.7 per inch
- Good soundproofing
Cons:
- Can settle over time, reducing effectiveness
- Absorbs moisture, which may lead to mold if not properly treated
- Requires professional installation in most cases
3. Spray Foam Insulation
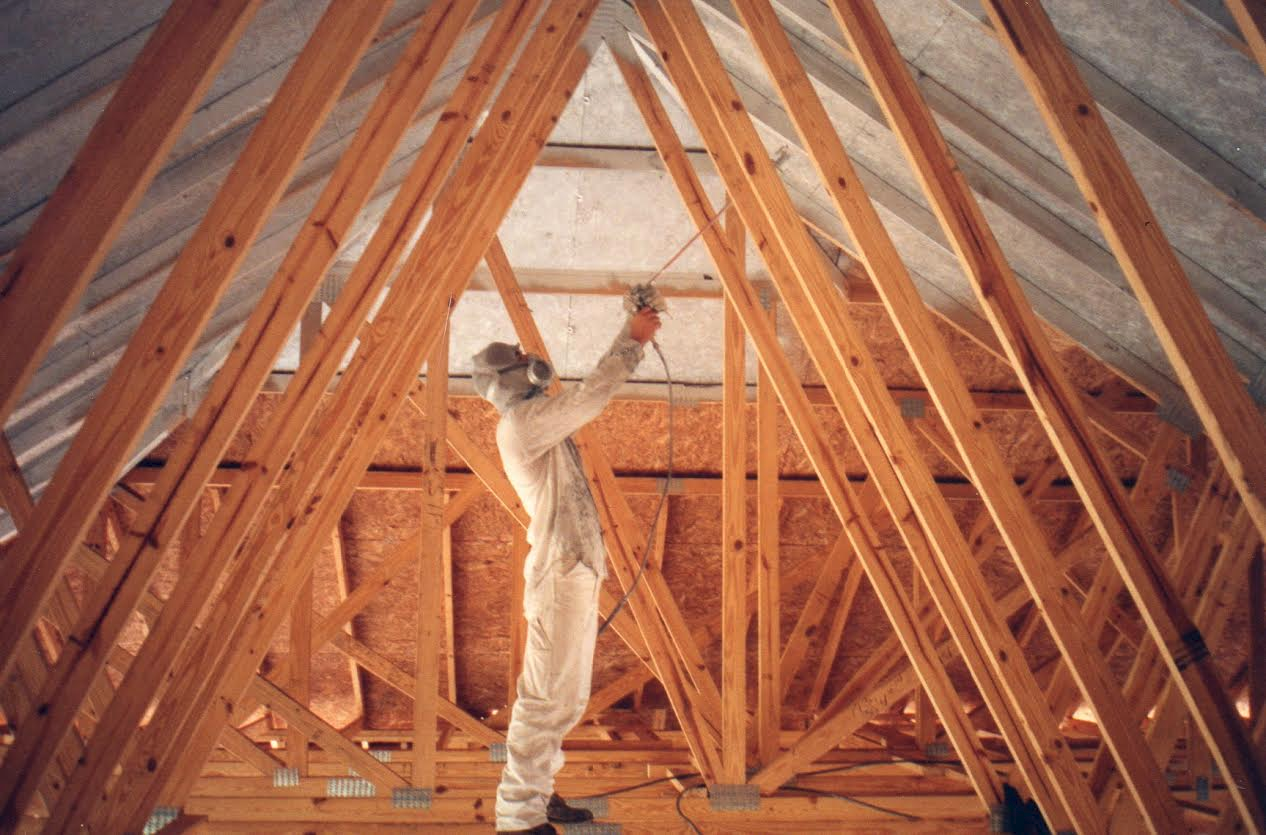
Spray foam is a high-performance insulation that expands to fill gaps, cracks, and voids. It comes in two types: open-cell (softer, less dense) and closed-cell (denser, moisture-resistant). Spray foam offers superior air sealing and high R-values (up to R-7 per inch), making it ideal for hard-to-insulate areas.
Pros:
- Seals air leaks, improving energy efficiency
- Closed-cell foam acts as a vapor barrier
- Long lifespan with minimal settling
Cons:
- Expensive ($1.00–$3.50 per board foot)
- Requires professional installation
- Off-gassing of chemicals during application
4. Rigid Foam Insulation
Rigid foam boards (such as polystyrene, polyisocyanurate, or polyurethane) are used for exterior walls, foundations, and basements. They offer high R-values, moisture resistance, and structural support. Rigid foam can be cut to size and installed between studs or over existing insulation.
Pros:
- High R-value (R-4 to R-6.5 per inch)
- Moisture-resistant and durable
- Can be used in below-grade applications
Cons:
- More expensive than fiberglass or cellulose
- Can be bulky and difficult to cut precisely
- May require additional framing
5. Natural and Eco-Friendly Options
For environmentally conscious homeowners, options like sheep’s wool, cotton (denim), or straw bale insulation offer sustainable alternatives. These materials are biodegradable, non-toxic, and often provide good thermal performance.
Pros:
- Low environmental impact
- Non-toxic and safe to install
- Good moisture regulation
Cons:
- Higher cost ($1.50–$4.00 per square foot)
- Limited availability
- May require special installation techniques
Where to Insulate: Prioritizing Key Areas
To maximize energy efficiency, insulation should be installed in all key areas where heat loss or gain occurs. Focus on these critical zones for the best results:
1. Attic
The attic is the most important area to insulate. Since heat rises, up to 30% of a home’s heat can escape through an uninsulated attic. Aim for a minimum of R-38 in most climates, with R-49 to R-60 recommended in colder regions. Use batts, loose-fill, or spray foam, and ensure proper ventilation to prevent moisture buildup.
2. Walls
Walls account for about 20% of heat loss, especially in older homes with single-pane windows or uninsulated cavities. Consider blown-in cellulose or spray foam for existing walls, or use rigid foam boards during major renovations. Stud bays can also be filled with fiberglass batts if accessible.
3. Basement and Crawl Space
Basements and crawl spaces are often overlooked but can be significant sources of heat loss and moisture. Insulate basement walls with rigid foam (R-10 to R-13) or spray foam, and consider insulating crawl space walls and floors. Avoid insulating the ceiling of a crawl space if it’s vented—focus instead on sealing air leaks and adding a vapor barrier.
4. Floors Over Unheated Spaces
Floors above garages, basements, or crawl spaces should be insulated to prevent cold drafts from seeping into living areas. Use rigid foam boards or batts between floor joists, and seal gaps around pipes and wiring.
5. Windows and Doors
While not traditional insulation, windows and doors are major culprits for energy loss. Upgrade to double- or triple-pane windows with low-emissivity (Low-E) coatings, and seal gaps with weatherstripping or caulk. Consider thermal curtains or window films for added insulation.
DIY vs. Professional Insulation: What’s Right for You?
Many homeowners choose to tackle insulation projects themselves, especially in attics or accessible wall cavities. DIY insulation can save money and offer a sense of accomplishment, but it’s not always the best choice. Here’s how to decide:
When to DIY
- Attic insulation (fiberglass batts or loose-fill)
- Wall insulation in unfinished spaces or during renovations
- Sealing air leaks with caulk or weatherstripping
- Adding insulation to basements or crawl spaces
For these projects, ensure you wear protective gear (gloves, goggles, mask), follow safety guidelines, and check local building codes. Use a moisture barrier if needed and avoid compressing insulation, as it reduces effectiveness.
When to Call a Professional
- Installing spray foam insulation (requires specialized equipment and training)
- Blown-in cellulose or fiberglass in finished walls
- Insulating exterior walls or foundations
- Addressing moisture or mold issues before insulating
Professional insulation contractors bring expertise in choosing the right material, sealing air leaks, and ensuring proper installation—especially in hard-to-reach areas. They can also perform energy audits to identify problem zones and recommend targeted upgrades.
Common Insulation Mistakes to Avoid
Even with the best intentions, insulation projects can go wrong. Avoid these common pitfalls to ensure maximum effectiveness and longevity:
- Ignoring Air Leaks: Insulation doesn’t stop air flow. Always seal gaps around windows, doors, pipes, and electrical outlets with caulk or spray foam before insulating.
- Compressing Insulation: Fiberglass batts should fit snugly between studs without being squeezed. Compressed insulation loses R-value and effectiveness.
- Skipping the Vapor Barrier: In colder climates, moisture can condense within walls and cause mold. Use a vapor barrier (or choose a material with built-in moisture resistance, like closed-cell spray foam) to prevent this.
- Overlooking Ventilation: Proper attic and crawl space ventilation prevents moisture buildup and extends the life of your insulation. Ensure vents are unobstructed and consider adding a vapor-retarder if needed.
- Using the Wrong R-Value: Under-insulating is a common mistake. Always check local climate zone recommendations and local building codes to meet or exceed minimum standards.
Cost Considerations: Balancing Upfront Investment with Long-Term Savings
While insulation requires an upfront investment, it pays for itself over time through lower energy bills and improved comfort. Costs vary widely depending on material, labor, and home size. Here’s a general cost breakdown:
- Fiberglass Batts: $0.64–$1.20 per sq ft (DIY)
- Cellulose (Blown-In): $1.00–$2.50 per sq ft (professional)
- Spray Foam: $1.50–$3.50 per sq ft (professional)
- Rigid Foam Board: $0.75–$2.50 per sq ft (DIY or professional)
To estimate your project cost, calculate the square footage of the area to be insulated and multiply it by the cost per square foot. For example, insulating a 1,000 sq ft attic with fiberglass batts at $1.00 per sq ft would cost around $1,000.
Remember that while spray foam and rigid foam have higher upfront costs, they offer superior performance and long-term savings. Fiberglass and cellulose are more budget-friendly but may require more frequent updates or additional sealing.
Government Rebates and Incentives: Saving Money on Insulation Upgrades
Many governments and utility companies offer rebates, tax credits, or financing options for energy-efficient home improvements, including insulation. These programs can significantly reduce your out-of-pocket costs. For example:
- U.S. Federal Tax Credits: The Inflation Reduction Act offers up to $1,200 annually for insulation upgrades, with no lifetime limit.
- State and Local Rebates: Many states, such as Massachusetts, New York, and California, provide additional incentives. Check the Database of State Incentives for Renewables & Efficiency (DSIRE) at dsireusa.org.
- Utility Company Programs: Some electric or gas providers offer rebates for insulation, especially if it reduces overall energy demand.
- Energy-Efficient Mortgages (EEMs): Available through FHA, VA, or conventional loans, these mortgages allow you to finance energy upgrades into your home loan with no additional down payment.
Always check eligibility requirements and documentation needed before starting your project. Some rebates require a professional installation or energy audit, so plan accordingly.
Winterizing Your Home: Quick Insulation Tips for Cold Months
If you’re not ready to invest in a full insulation overhaul, start with these budget-friendly winterizing tips to reduce drafts and improve warmth:
- Add Weatherstripping: Seal gaps around doors and windows with adhesive-backed foam tape or rubber weatherstripping.
- Use Draft Stoppers: Place door sweeps or fabric draft stoppers at the base of exterior doors.
- Install Thermal Curtains: Heavy, insulated curtains can reduce heat loss by up to 25%. Close them at night and open them during the day to capture solar heat.
- Seal Electrical Outlets: Use foam gaskets behind outlet and switch plates on exterior walls.
- Insulate Hot Water Pipes: Use foam pipe insulation to prevent heat loss from pipes in unheated areas.
- Add Rugs: Thick rugs on cold floors help insulate against chilly surfaces.
These small changes can make a noticeable difference in comfort and energy use during the colder months.
Final Thoughts: Insulate Now for Comfort and Savings Tomorrow
Home insulation isn’t just about adding fluffy pink batts to your attic—it’s a strategic investment in comfort, health, and financial savings. A properly insulated home stays warmer in winter, cooler in summer, and consistently more efficient year-round. With so many materials and approaches available, there’s a solution for every budget and home type.
Start by assessing your home’s current insulation and identifying areas for improvement. Whether you choose to DIY or hire a professional, prioritize sealing air leaks, selecting the right R-value for your climate, and using high-quality materials. Don’t forget to explore rebates and incentives to make your project even more affordable.
By taking the time to insulate your home correctly, you’re not just cutting energy bills—you’re creating a healthier, more comfortable living space for you and your family. And in the long run, that’s an investment that pays dividends in both comfort and peace of mind.